Monday, October 29, 2012

Today, October 29, 2012

Today’s project:  Does this bustle make my butt look big?

I know this will be the biggest shocker of all time, but today I worked on my Steampunk outfit.  I know, I know, didn’t see that one coming did you?

Well at the risk of boring you, Dear Reader, here is the next element of my costume:  the bustle.

Since I managed to create at least a temporarily working bustle piece, I was able to fold and drape the fabric on the back of my dress.  I have already sewed an underskirt (bits of which you have seen in previous posts) so this bit is more dressing than practical.  I like to make my bustles separate so that I can mix and match the parts with other skirts and jackets.  Although I’m not sure I will ever pair this with something else, I like the idea of options.  I’m a changeable creature at heart and parts that are inter-workable are wonderful!

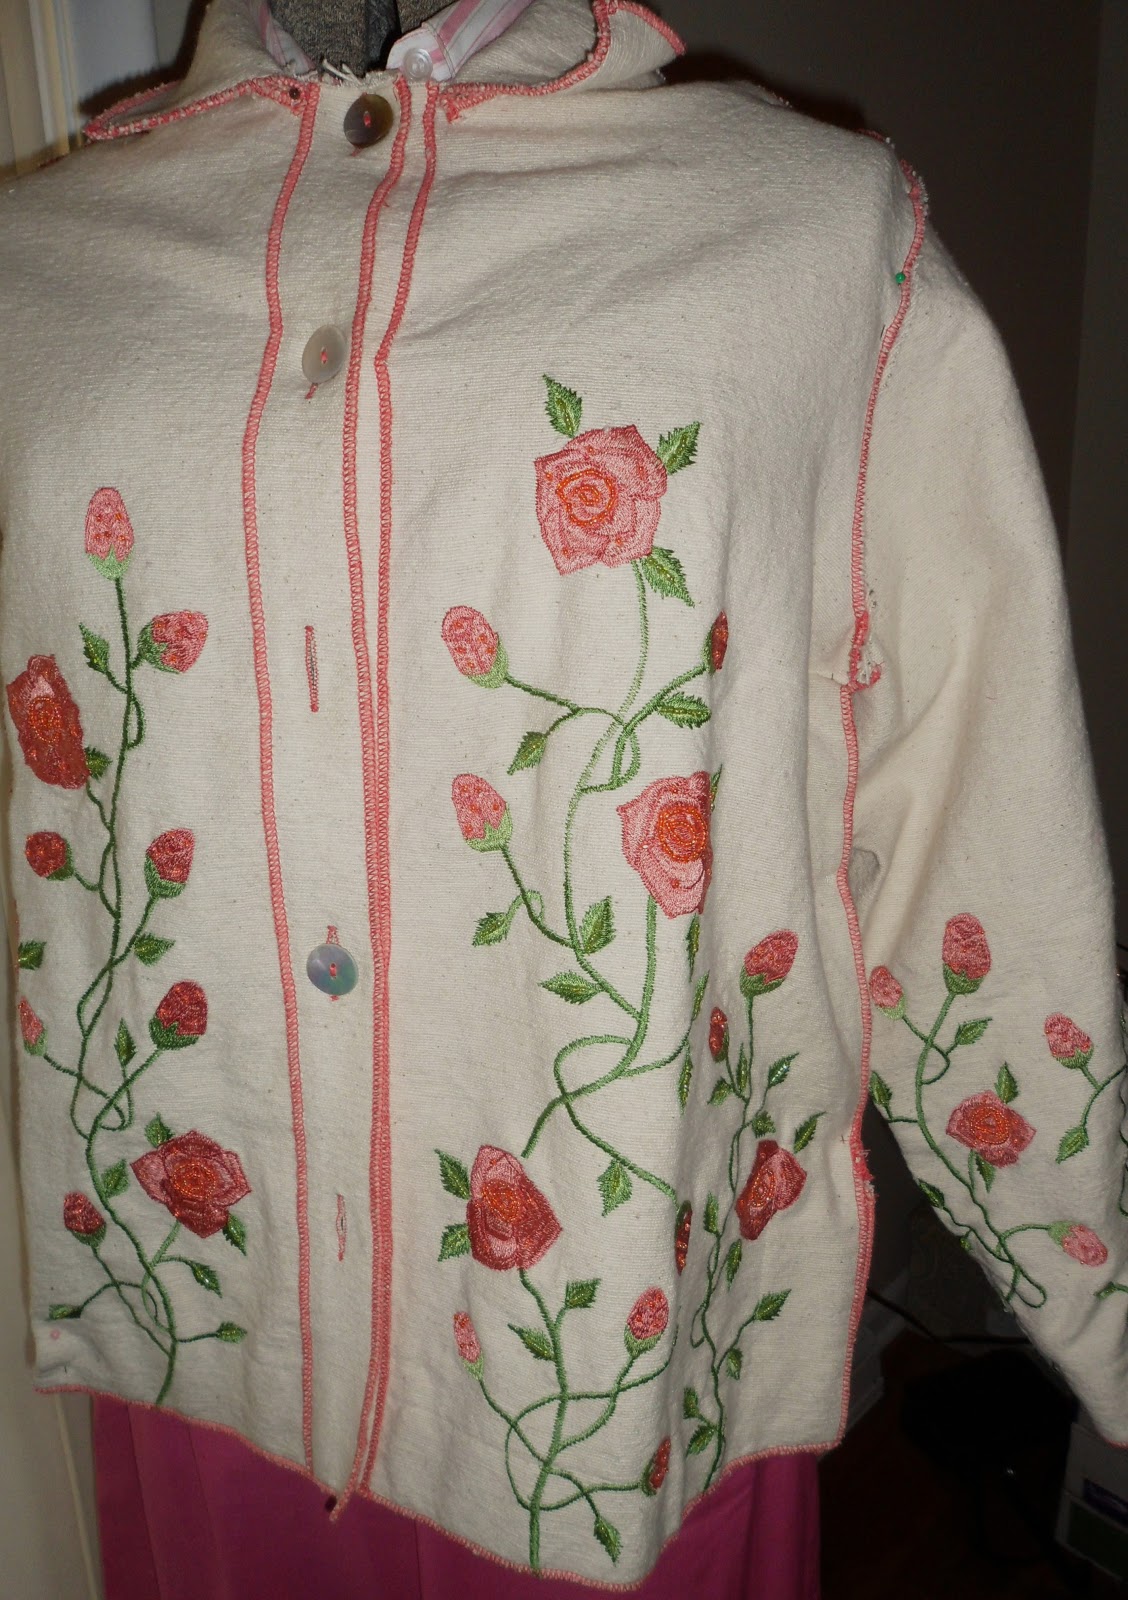
Here is what I started with as inspiration for this whole piece:

I know it just looks like a bundle of fabric, but it started life as a comforter.  Really.  One of those double-sided numbers with the floral on one side and the plaid on the other. I took it apart before I snapped a pic, but here is a similar one:

I have to admit, I’m a sucker for a cute plaid or polka dot pattern.  Addtionally, I love to explore color for my Steampunk pieces.  Usually there is nothing but drab browns and blacks on people at the cons and my Steampunk Sister and myself were kinda tired of seeing the same ol’ color scheme.  Our solution: we will wear pinks and blues and reds and not apologize for it one little bit! Yeah!

The usual asthetic of Steampunk is one of a kind of ‘rough and ready’ traveler, so the brown and black isn’t totally inappropriate, but really isn’t our style.  Also, the Victorian pictures from the age may be in black and white, but that doesn’t mean that all the people dressed in shades of grey.  In fact, quite the opposite, as my research shows descriptions of gowns in glorious oranges, yellows, pinks and blues.  To give the feel of a ‘vintage’ look overall, I choose muted versions of these tones; giving the impression of a faded photo.

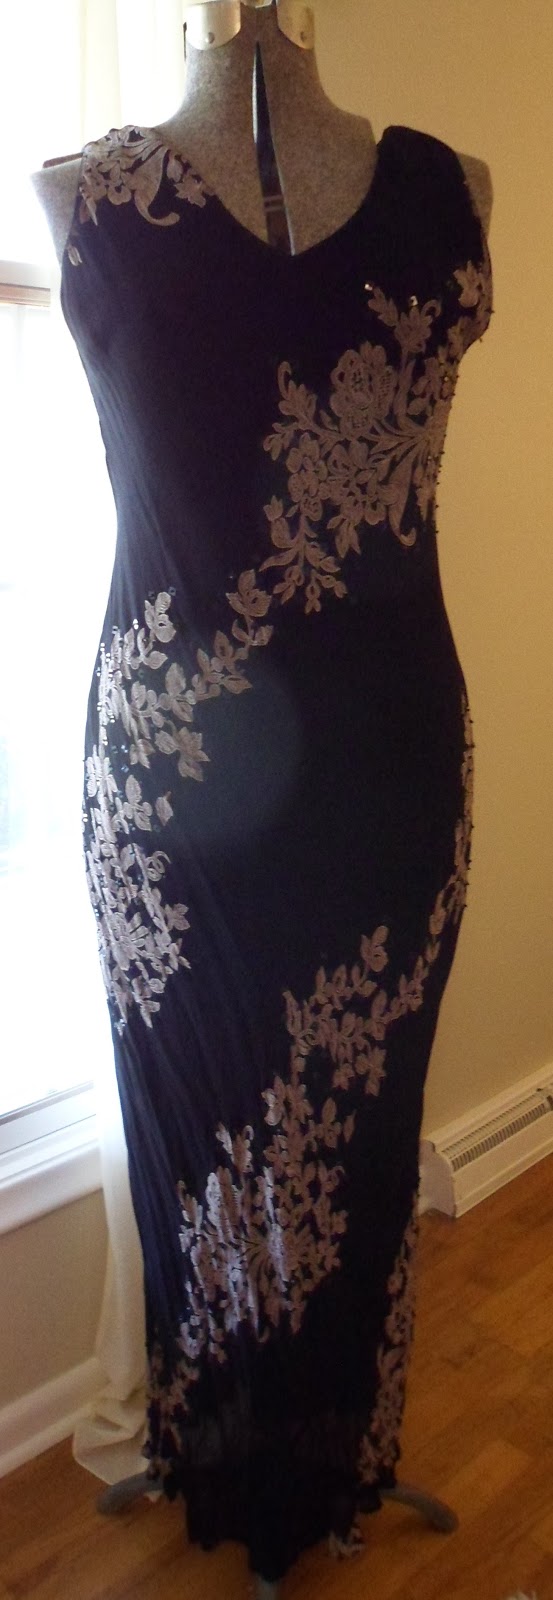
Here’s the look I’m aiming for:

Fortunately, Steampunk doesn’t really require re-enactment level shapes (although there are many people who do go all out period-wise, and it is a glorious sight – I applaud those who take the time and effort to make something truly authentic).  I’m really just hoping for the overall impression of the shape to imply the time period.  As such, my bustle is waaaay smaller than what the historical era would call for, but I think you get the idea.

Here are some more shots of the finished product:
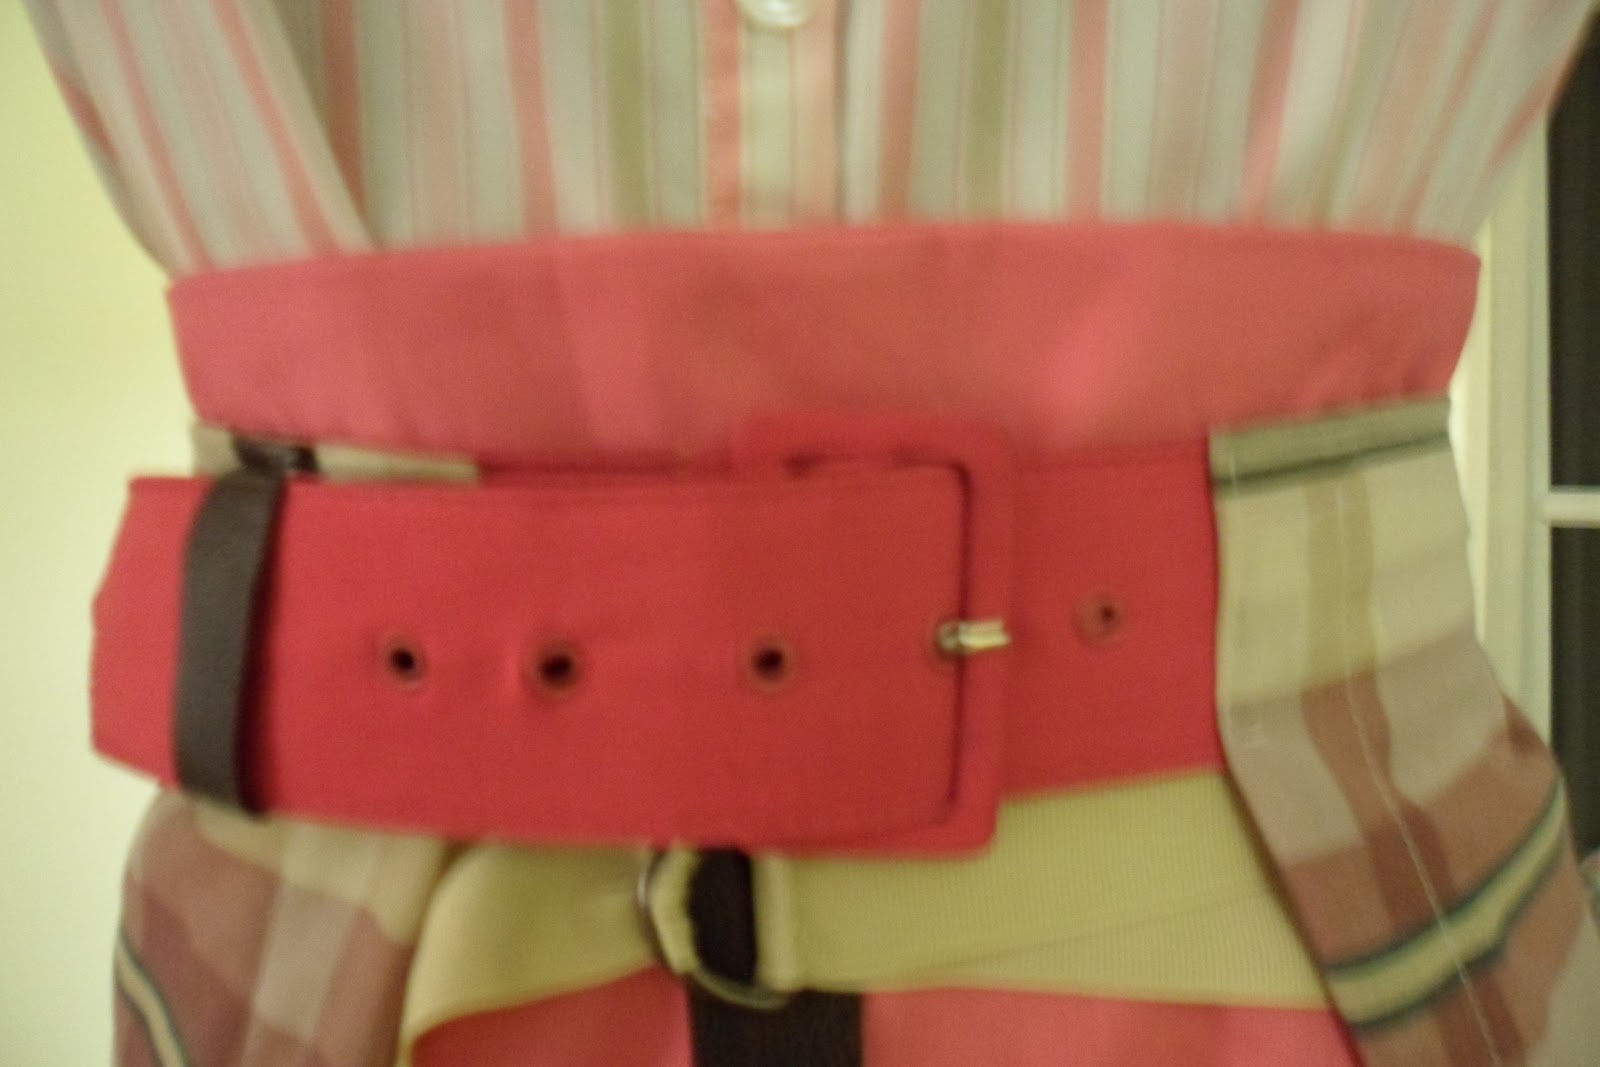
Details, details:

With the jacket:

A friend recently asked me: ‘Why, oh WHY, did the women do that weird thing of putting extra bits on their buts and hips.  Why purposefully make yourself look bigger than you are?’

My answer is a simple one, because my opinion is, the reason is simple… All of these pieces are designed to make your waist look as small as possible.  Corsets were created to literally make your waist as small as you could physically tolerate, but all the extra padding everywhere else leant to adding to the illusion.

Some days, I wish we still bought into this idea. At least then I could claim that that round thing following me around was a pillow.  Yeah.  That’s it. A pillow. 

[That’s my story and I’m sticking to it!]

Sunday, October 28, 2012

Today, October 28, 2012

Today’s project: Recreate the past with modern stuff

More Steampunk!

(I know, I know, you are shocked and surprised!)

There is a fabulous piece on YouTube (find it here) from a museum in Nevada talking about Victorian dress.  The clip shows a woman putting on all the trappings of a 1860s era lady and is fascinating from a research point-of-view.

One of the segments has the curator showcasing different period bustles.  When I saw this one:

I totally fell in love and said, ‘I WANT one!’  It is a ‘collapsible’ bustle – for easy travelling.  And it’s just so durn cute!  I also felt it would be easier to wear throughout the day than a full bustle piece.  This one should sit right under the small of my back and will make reclining in a chair a more pleasant experience.

Well, since there isn’t a Victorian underthings store down the street, I realized I needed to create one.  I talked to a crafty friend of mine and he had some great ideas and advice.  One of the concerns we discussed entailed (no pun intended! Ha!) when I would sit down or bump into something.  You don’t want your bustle to crumple!  Oh the shame!

Ok, it needs to be made of something strong enough to hold up the fabric but light enough to wear all day and flexible enough to ‘bounce back’ when pushed on.

Let the hunt begin…

Tonight on Mutual of Omaha’s Wild Kingdom, our intrepid wild-craft explorer Rora hunts down a material cheap and workable for bustle creation.  Let’s check in and see how she’s doing.  What’s that she’s found in that cave underneath the kitchen sink?  LOOK OUT RORA!  Oh, my!  She’s found a discarded milk jug – clever gal!

Ahem.

Sorry, not much sleep last night – makes Rora a bit punchy. =)

Anyways, I cut up the jug into strips the longest way I could and fenagled them into a form that seemed to match the piece in the video.  I, of course, didn’t have exact measurements and such, so there was a lot of guess work and playing with my dress form to get a shape and size that seemed to work.  It’s a bit ‘lumpy’ because of the nature of the pre-formed material I was playing with, but as it will be covered by a big swatch of fabric, I didn’t think that would matter.

Here’s what I ended up with:

I used scotch tape at first to fasten everything together because I wanted to be able to adjust it without destroying the piece if I needed to take it apart.  Then, when I decided it was ready to be stuck together more permanent, I used staples at the joints.

However, I was concerned that the staples would catch on my fabric when I wore it, so I covered the whole thing in a layer of duct tape.  I also thought that it looked a little more ‘punky’ that way, too.

Finally, I had some grosgrain ribbon in my ribbon stash and I stapled two lengths to either side of the piece in the approximate same place as the original bustle.  Since this tie will be visible in my final outfit, I attached two d-rings to one end so that it will be adjustable and display something interesting when wearing it.

After working with this piece for a while, I figured out that the ties in the original aren’t just part of the collapsible part but helped maintain the shape.  What made this revelation for me was that my creation was losing it’s shape a little from the pressure of the ties around the waist pulling against the tension of the material.  Therefore, I added these little ties:

Here it is in action:

I needed to finish this element before I moved onto the next part of my costume – the bustle.  I can’t be sure I will get the look I want without having the support of this underneath the fabric.

So there it is!  The next element to my Steampunk lady!

I’m not sure what I had the most fun with, the creation of this or the research to find something that would work and would still be reminiscent of the history behind it.  I’m gonna go with both!

Saturday, October 27, 2012

Today, October 27, 2012

Today’s Project:  Punk it up!

The other day, I had a lovely lunch with my Steampunk Sister in which we had yummy treats, great conversation and plotted our plans for our next adventure: TeslaCon. Squee!


As we were solving the world’s problems and designing some kick-butt costumes, my friend pointed out that we had about a month to get our act together.  The result of that little fact-nugget?  Rora panicked!

I had already begun the bigger of the two (or three) outfits I had planned as new pieces for the con, but realized that I really needed to get my butt in gear.

My poor sweetie, who is very supportive of my creative craziness, is surrounded by fabric, thread bits and weird metal widgets.  Good thing he loves me!

Which means, Dear Reader, you also will be inundated with Steampunk over the next couple of weeks….sorry about that! =)  Don’t worry, I’m sure I’ll break up the creative monotony with other little projects; gotta keep you guessing!

Today, I thought that I would show the jacket that I worked up for my newest piece.

Here is what I bought at the thrift store:


It is your typical hip-grandma number, but I really liked the embroidery, which is accented with seed beads.  This has a Victorian feel, I think, since many items were hand embroidered and beaded.  I also like the detail of the exposed serging on the seams.  I thought that this lent a little to the ‘punk’. However, the shape and cut are all wrong.  Plus, I wanted to add some of the fabric that I’m planning on using for the bustle to tie the look together.

Here is the result:

Details on the collar…

And the cuff…

Sew some gears on it and it’s Steampunk!

The back…


And there we are, Dear Reader, the first step in outfit number one!  Prepare for more adventures in fabric, duct tape and hot glue as we create two more outfits and all the gadgets and doodads that go with it!  YAY for adult dress-up!

Thursday, October 25, 2012

Today, October 25, 2012

Today’s project:  Enjoy the results

In my last post, I talked about how I had altered a dress for a Halloween costume.  Yesterday was the party and I spent a good portion of the day preparing.  That may seem excessive, and frankly it does to me too, but it wasn’t as decadent as it sounds.  I have some hot rollers that I put all my hair in to get some tiny 20s curls and after that, while they were doing their hefty work, I was messing with other projects.  Those tasks weren’t particularly exciting, so I won’t go into them here. No sense in boring you, dear reader.

Anyway, I invited a friend to accompany me as my sweetie was busy working (hard working man!) and I really didn’t want to go to the party by myself.  What would Emily Post say to a married woman attending soirée unaccompanied?  Oh the scandal!

Fortunately, this friend is handy with a camera and I asked him to take a few shots of the completed look.

As a review:

Here’s what I started with:

Here’s what I ended up with:

Here's the look I was going for:

Here is me in full garb:


So today, I sit back (for a few minutes anyway) and enjoy the beautiful day, appreciate a talented friend and pat myself on the back for completing a project!

Tuesday, October 23, 2012

Today, October 23, 2012

Today’s project:  How many projects can I do in one day?

Today, I found myself with an unusual amount of energy.  Unusual in particular because the past few days have been rough and I haven’t had much energy at all. Frankly, I’ve felt like a lump of useless goo…a great big pile of lazy tiredness.

Obviously, I haven’t had much inclination to do projects, much less write about it.  Ok, that’s not totally true – I did have the project of ‘getting out of bed’ the other day.  It was quite the endeavor, and I’m proud to say that I succeeded… eventually. ;)

So I guess my body and my psyche have been listening to me complain, moan and whine about not being able to do much…and responded with a big dose of ‘whoo hoo!’  Well, I’m not one to look a gift horse in the mouth, and I took full advantage of it.

I decided to see how many projects I could do today…

YAY LIST!

#1.  Breakfast
Ok, I know it doesn’t seem like that should be on my list of ‘projects’, but it really was an effort – mostly because I decided to treat myself to the wonderfully horrible-for-you McGriddle.  Well, since I was the only one in the house, who was going to fetch it?  Oh yeah, that would be me.  But I decided I should probably put on pants first.

#2.  Clean my car
Thanks to my sweetie for starting this project for me on Sunday.  It felt very satisfying to grab a bottle of cleaner and a roll of paper towels, and spend an hour scrubbing all the nooks and crannies.  I have to admit, there is nothing more lovely than a clean windshield when you are driving on a rainy day.  Special thanks to my military-clean Daddy and my neat-freak Mommy for giving me a mild case of OCD…and a clean car. ;)

#3.  Halloween costumes for the babies
It’s that time of year where I know lots of parents are scrambling to thrift stores, Halloween superstores and clicking away online trying to get all the pieces and parts of the wished for costume of their children, like it’s the night before Christmas.  My girls are very creative and tend to come up with really great costume ideas.  For example, last year, my Boo-Boo decided she wanted to be an Easter basket. Really.  We took a cardboard box, made a hole for her body and filled it with ‘eggs’ and Easter grass.  She wore a brown rabbit headpiece and completed the look being the chocolate bunny in the basket.  And it was her idea. I swear.

This year, one girl wanted to be ‘Moaning Myrtle’ from Harry Potter and the other wanted to be Poison Ivy from Batman.  Others are still deciding…

I blame both of these on their father and his obsession with comic books.  Sigh…

So, with a combo of a couple of great scores from thrift stores and some plastic ivy, I completed their outfits today.

Here they are (I’ll post pics of them wearing the stuff later):


#4.  Laundry
In between projects and steps of projects, I did three loads of laundry.  YAY clean underwear.  I had a dream the other night that my husband was yelling at me to ‘just do some frickin’ laundry’. Hopefully, this will appease my guilt…and my subconscious husband (he’s so demanding).

#5.  Mommy Halloween costume
I got invited to a Halloween open-house/party tomorrow and was spending today trying to figure out what to wear.  At first, I thought I would just finish the Steampunk piece I’ve been working on and wear that.  Then I thought, ‘Sheesh, that will be a lot of work since the outfit is in the early stages and not near done.’  Ok, well, I’ll just wear one of my already completed Steampunk outfits.  Oh come on, where’s the fun in that?  Next thought: ‘I should do something that will go with my short hair…20s!  That will work!’  I have a stash of ‘evening’ and other special occasion dresses and I decided to pull something out of there that would be the right shape and style.  I found this piece that I bought a long time ago at a thrift store:

It is a great shape for late 20s early 30s.

Warning: Side Note Arriving in 3..2…1….

Authentic 1920’s wear is not what most people think it is – fringe and short.  The truth is, fringe was just as expensive then as it is now, so it was not very common at all.  Also, the length was much longer than most people assume.  Remember that historically, as close as the decade before, it was scandalous to show just your ankle, so they didn’t have to go much higher than mid-calf to make every one gasp.  And evening wear was full length and slinky…just as it is now.

Now, since it is me and I can’t just let things be, I decided that this dress needed some help.  It is very pretty and has some interesting beading (that doesn’t show in the pic, unfortunately), but didn’t feel very… well, theatrical.  I thought that I would add some ribbon and beads to give the impression of fringe, which implies the era faster than anything else.

Here is the result:


Close-up of beading/ribbon

By the way, this ended up taking me several hours.  So much for choosing an outfit that was ‘less’ work than the non-completed Steampunk thing. I’m an idiot.  But I’m a sparkly, fringy idiot!

#6 Blog
Well, not much more to say for this one, right? ;)  Except for: CHECK!

So there we are, dear reader.  Six in one day.  I’m sure that I’ll be exhausted tomorrow and barely able to drag myself out of the bed to take a shower, but today I was a project MACHINE!  YEAH!

Saturday, October 20, 2012

Today, October 20, 2012

Today’s project: Save-the-Earth sandwich wrap

My Healthy-habits Friend will be proud of me – I’ve made an effort to be more environmentally conscious…which has had the side effect of helping the household wallet as well as the earth.  Go two-for-one!

I send a lunch with my girls to school everyday, and I had made lunch totes for them before the beginning of the year as well as coordinating sandwich wraps.  These replace the plastic bag that I usually stuffed their sandwiches into – cleaner and easier for my girls to work with.

I got the original idea from this book:


I have altered the piece from the original slightly… as I will explain as I go.

First, I made a pattern based on the measurements given in the book. Kind of.  I had a 11x14 piece of paper, so I altered the measurements to fit on there. This just made the result slightly smaller – about ½ inch overall, I would guess.  So that’s alteration number one.


You have two pieces – one for the body of the wrap and one for the flaps.

Then I cut the pieces out of the two kinds of fabric.  One for the body and two for the flaps.


The book asks you to use PUL fabric – this is a fabric with a plastic coating on one side and is used for diaper wraps and other things where you need waterproofing.  Here’s the next change I made.  I used a regular cotton fabric and the white is tablecloth fabric (you know, the kind of stuff that grandma had on her table for years),  So, my pieces are double-layered while the one in the book is single-layered.  My choice was purely motivated by cost – the tablecloth fabric was $4 for a yard (in which I have made 3 totes and 5 wraps and still have tons left), the colored is a fat quarter, for about $1; the PUL fabric is $14/yard or more.

From this point on, because my piece is double-sided, I’ve got several more steps than in the instructions of the book.

Next I sewed the two body pieces together, right sides together, but just on the ends:


Flip it right-side out:


Sew the flaps together, right sides together, on the two short sides and one long side:


Flip right-side out:

Craft tip:  In order to make sure your corners are as square as they can be when you turn the piece, clip the corners off of the fabric before you turn it right side out:


Here's the three pieces after sewing and turning:

Fold the unsewed edges in and finger press the open edge of the body piece:

Then pin the flaps into these pockets on either side of the body:


Top-sew all around the piece, attaching flaps to body:


The original piece has all sides of the wrap acting as open flaps – you essentially just place the sandwich in the center and fold up all the sides to close it in.  I thought it might work better to make one of the flaps a pocket.  I felt this would keep the sandwich together better and make sure that it didn’t slide all around inside the wrap.

I just arbitrarily tilted the one flap in a little, pinned and sewed in place:


Next, attach a piece of “Velcro”:


One on the inside of the end flap and one on the outside:


Here is it in action:

And here it is folding up:


I let the girls pick their own fabrics for the totes as well as the wraps, ending up with one tote and three different wraps.  They have thoroughly enjoyed using them and they wash up very well – I’ve thrown them all in the washer and dryer without any shrinking or misshaping. I’m thinking about making something similar for carrots and other smaller treats…

The biggest treat from making these (other than the proud grins that my girls have while using them) is the NON-guilty feelings I have making their lunches!  YAY for less guilt in the world! =)