Today’s project: Victorian pocket photo
Although my entrance in to the world of Steampunk has expanded my love of the Victorian era, I’ve always had a fascination for the time period; the clothes, the society, the sentiment. I have several books dedicated to this specific era in costuming. Whenever I’m flipping channels and I see something from that time, I immediately stop and am bewitched until it is done. I’m sure I look a lot like a little kid watching cartoons on Saturday morning.

I love to watch PBS, the History Channel and the Discovery Channel. They have such glorious documentaries on all kinds of subjects. The other day, it must have been ‘civil war’ day on PBS because they played three fascinating pieces in a row.
My favorite was on the role of death in America
Because of the daunting task of identifying and burying all the poor boys and men, things we take for granted now were devised. Like dog tags. And National Cemeteries. And Memorial Day.
If you want to have your heart touched to the core, research the “first” Memorial Day. It was an amazing story, I’ll not soon forget.
ANYWAYS, all of that is relevant because something that was common in the Victorian era was an inspiration for today’s project. And this particular item was shown often in the documentary. I’m not sure what its official name is, but it is a small framed picture usually clad in a leather case. It was made to be carried in a pocket and many, many soldiers on both sides brought them to the front lines so they could have a reminder of loved ones to look at when lonely and homesick. It was the one thing they demanded near them when times were tough and the one thing they kept safe. Here are a couple examples:


I thought this was a charming idea and wanted one of my own. But of course, I’m cheap and I thought, ‘I wonder if I could make something like that…’
Originally, I wanted to use a business card case – something like this:

However, the ones that I found were rather expensive and had a weird little lip on the one side; which is great for keeping cards tidy in the case, but not so great for housing a picture and photo mat.
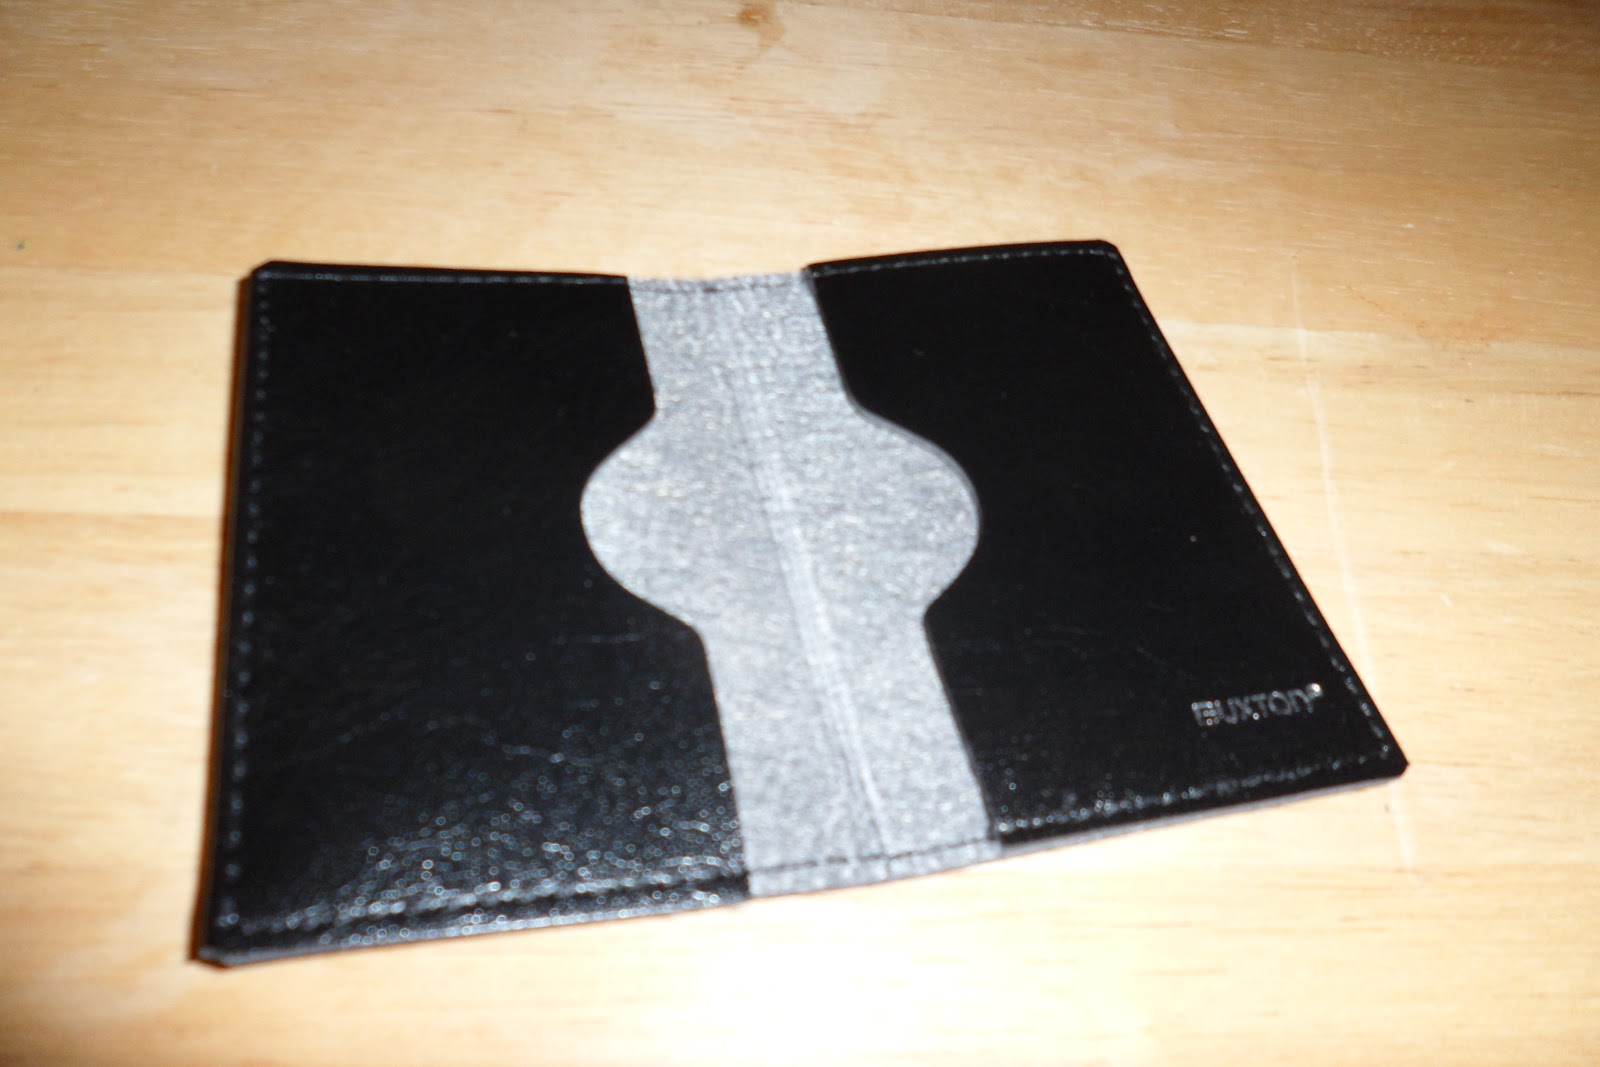
Then, at Office Max, I found this:

YAY PLEATHER!
This was great; it was only $2 and seemed very simple to convert to what I had in mind.
Step one:
I cut the little pockets off that hold the cards in.

I wanted the gilted mat look of the example. That is what gives it the ‘Victorian’ feel, I think. Step two (make the mat):
Using an old pasta box (wink to my Healthy-Habits friend – see I’m recycling!), I cut out a little rectangle of cardboard.

Then I cut out an oval from the center, so the photo peeks through.

Here is how I got the ‘metallic’ look. I went to the hardware store and got some foil tape. I’ve used this before and I LOVE it! You can find it in the section where they sell the air duct stuff. It’s great stuff because it has the feel of real metal, but is thin enough to really manipulate and wrap around where you need it. Using two strips, I covered the cardboard.

Cut from the center of the oval to the edge making several wedges.

Fold these back to expose the open center.
I used a pencil to draw some swirlies and such on the mat. I had some pieces for reference, but really I just free-handed it.


I printed off pictures that I wanted to use, making them close to the size I needed.


Here’s how I used the stickers I bought:

The completed memento:


In this one, I used some plastic ‘window’ things I found at Office Max that are intended for scrapbooking. The colored background is actually the cardboard from the package that the plastic thingies came in. I cut the one down a little since it was too big and put the sticker on the other side.
So that’s it. My silly craft for today is a little pocket frame to give me something to look at when I’m missing my beautiful girls…and I can totally understand why those soldiers back in the Civil War coveted theirs. I know I will treasure mine.

Brilliant! I have a picture of you when you were first born. The one the hospital gave me. It would be nice in a little pocket carrier. I've carried it with me for your entire life! It spent some time in the jungles of Vietnam but maintained it's beauty. At least I think so.
ReplyDelete